

JobDiva Integration
INTRODUCTION
Welcome to Alive5 Integration Guides. Here you will find how to connect your Alive5 account with JobDiva.
JOBDIVA CONNECTION
To get started with the JobDiva Integration, you will need a JobDiva account connected to Alive5. In addition, JobDiva API access is required for an integration with Alive5 through a connected app.
Connected apps, installed in an org, integrate external applications with JobDiva APIs. With API Access Control, all connected apps’ access to JobDiva APIs can be locked down and then approve (allowlist) specific connected apps. Using profiles and permission sets, you can then grant users access to an approved connected app. These users can access APIs through the connected app.
If you see 'The Rest API is not enabled for this organization' when trying to connect your JobDiva account, this means that your JobDiva organization doesn't currently have API access.
Steps to configure JobDiva account:
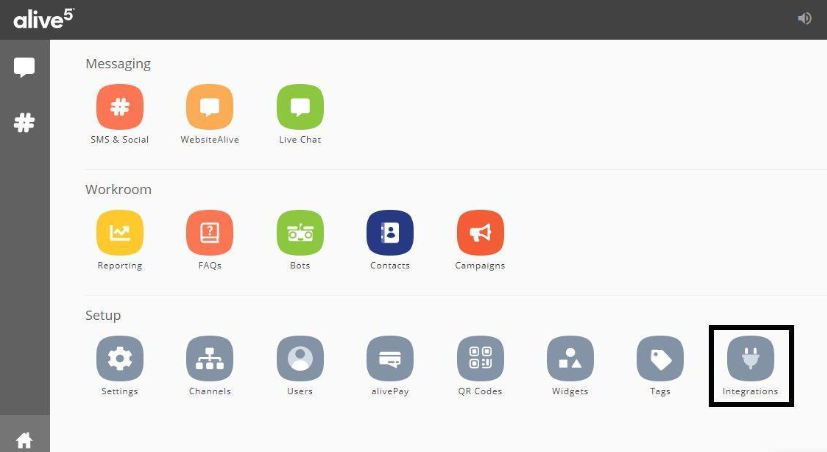
- On the home screen, at the lower right corner, click on the “Integrations” icon
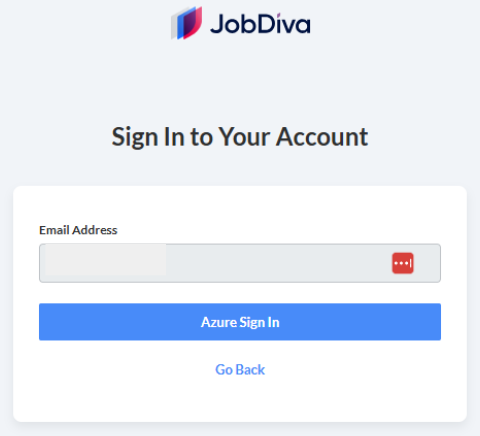
- Make sure you are already logged in to your JobDiva account.
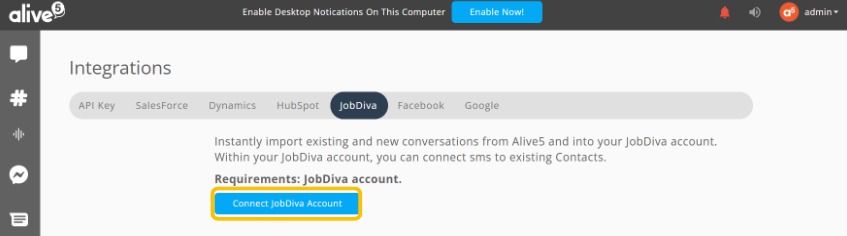
- Click on the JobDiva tab, then click on the blue “Connect JobDiva Account” button.
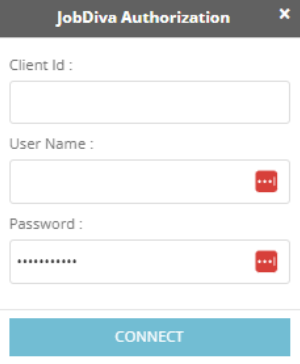
- A popup will appear where you will provide your JobDiva authorization detail: “Client Id”, “User Name” and “Password” to proceed.
- Once logged in, you will be redirected back to the alive5 JobDiva Integrations page with the status connected. This will show all settings that you can customize according to your requirements.
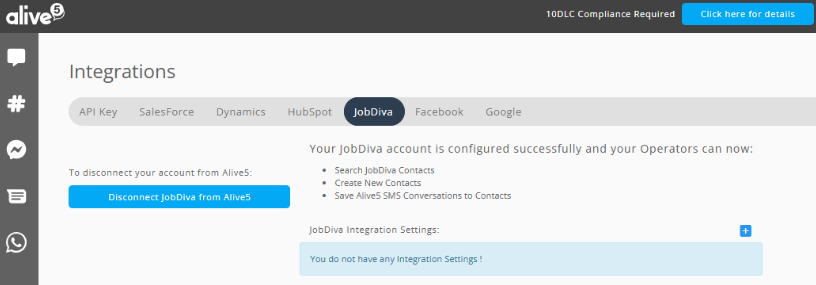
- Once the integration has been set up, go to the SMS or Live Chat applications to begin using the integration.
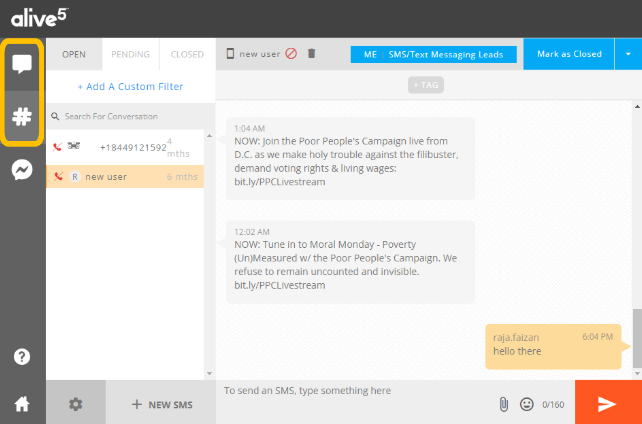
- If you are connected to your JobDiva Account, then on the right Panel click the second or “Info” tab and here you will find the “Connect” button.
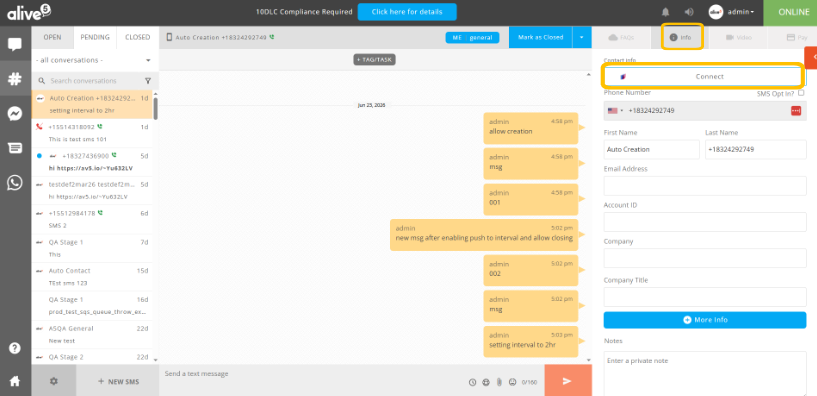
- Once clicked, a popup window will appear where you can search records against default entities i.e., candidates. By default, the search will pull in the phone number from the visitor's profile.
INTEGRATION SETTINGS
In this section, you can set Push SMS By Interval and Allow Auto SMS Push.
Steps to configure these settings:
- Click on add button

- The following form will appear
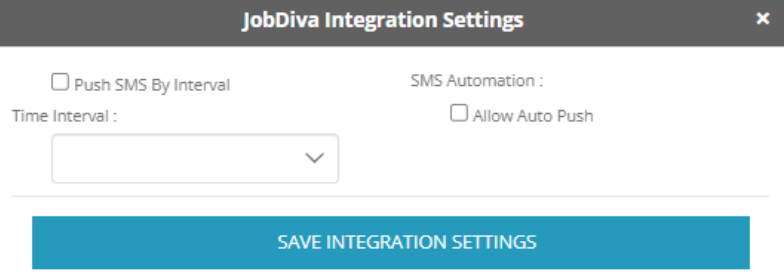
- Push SMS By Interval: If “checked”, each new sms will be pushed after the set interval.
- Time Interval: Used to set intervals for SMS for 1hr, 2hr, 6hr, 12hr or 24hr.
- Allow Auto Push: If ‘Allow Auto SMS Push’ is marked as “checked”, SMS will be automatically tagged to the first record fetched from JobDiva.